
STRAWBERRY CRUNCH CHEESECAKE CONES
Description
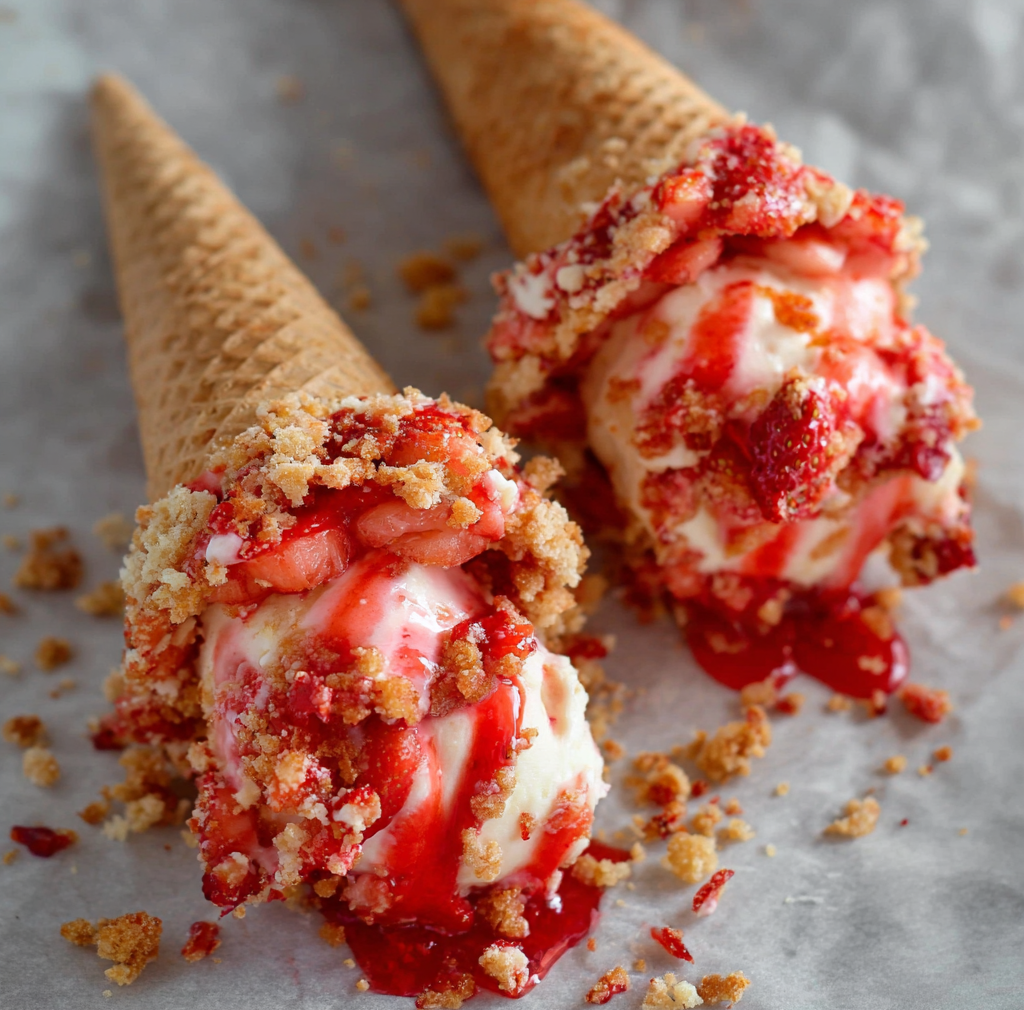
Looking for a unique and delicious dessert that’s perfect for parties or special occasions? These Strawberry Crunch Cheesecake Cones are a delightful twist on the classic cheesecake, combining the flavors of creamy cheesecake, crunchy cones, and sweet strawberries. Not only are they visually stunning, but they’re also easy to make and sure to impress your guests.
Ingredients
The Cone and Crumble:
- 12 sugar cones
- 20 vanilla Oreos, crushed
- 8 tbsp butter
The Filling:
- 16 oz cream cheese
- ½ cup sugar
- 2 tbsp powdered sugar
- 1 tsp vanilla extract
- 8 oz cool whip
The Strawberries:
- 1 lb strawberries (fresh or frozen)
- ½ cup sugar
- ¼ cup lemon juice
- ¼ cup corn starch
- 2 tbsp water
The Glaze:
- 2 cups powdered sugar
- 5 tbsp milk
- ½ tsp vanilla extract
Instructions
Notes
- Serving Tips
Strawberry Crunch Cheesecake Cones are best served cold. For a visually appealing presentation, arrange the cones upright in a decorative cone holder or a large bowl filled with decorative stones or candies to keep them in place. If you’re serving these at a party, consider adding a variety of toppings such as crushed nuts, chocolate drizzle, or sprinkles so guests can customize their cones. These cones make a fantastic dessert for summer gatherings, birthday parties, or any event where you want to impress your guests with a unique treat. - Storage Tips
Store any leftover Strawberry Crunch Cheesecake Cones in the refrigerator to keep the filling fresh and the cones crisp. Place the cones in an airtight container or cover them tightly with plastic wrap. If you have extra filling or strawberry topping, you can store these separately in the refrigerator for up to 3 days. For best results, avoid assembling the cones too far in advance, as the cones may become soggy over time. If you need to prepare them ahead, store the components separately and assemble the cones shortly before serving.